This post shows how to start a new WordPress site with Ubuntu, Nginx, PHP, MariaDB/MySQL which is the LNMP stack. It assumes you have basic knowledge of how to use command line Linux.
Register a Domain
There are free domain registers like freenom. I used NameSilo for this domain. Choose a domain you like, with acceptable price and renewal price. Don’t forget to add WHOIS privacy.
Buy a Server
If you use local server, you can skip this step. Just make sure your server has a public IP address. If it’s behind a firewall, make a proper port forwarding rule.
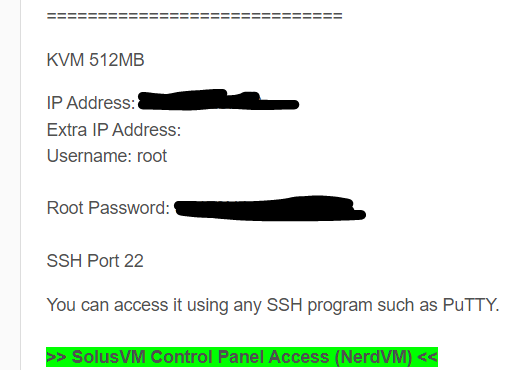
I used Racknerd’s VPS. After purchasing you can choose what OS to use. Then you will be given server credentials. You will use username root and the password given to login to your server with SSH. Password can be changed, new users can be created, and you can also use certs to login and disable password login completely.
Point Domain Name to Server
In your domain register’s settings, find DNS settings, add a new A record of @ as well as www, set the record content to the IP address of your server. Now you can access your server with domain name.

Install Server Software
I used Ubuntu Server 20.04. If you are using a different OS, consult related documentations and change software packages accordingly.
Following steps are fine to be executed under root. If not using root, use sudo. Update and upgrade software packages:
apt-get update
apt-get upgrade
Install packages:
apt-get install unzip nginx mariadb-server mariadb-client php7.4 php7.4-fpm php7.4-mysql php-common php7.4-cli php7.4-common php7.4-json php7.4-opcache php7.4-readline php7.4-mbstring php7.4-xml php7.4-gd php7.4-curlmake mysql installation secure:
mysql_secure_installationCreate database and database user, using password set in previous step:
mysql -u rootSQL queries to be executed in MySQL, replace your-password with your database password:
CREATE DATABASE wordpress;
GRANT ALL privileges ON wordpress.* to wpuser@localhost IDENTIFIED BY 'your-password';
EXIT;
Next steps are better executed with non-root user. To create and switch to new user:
adduser username
usermod -aG sudo username
su - username
Create website root directory:
sudo mkdir -p /var/www/your.domainDownload latest wordpress and extract to web root:
wget https://wordpress.org/latest.zip
sudo unzip latest.zip -d /var/www/your.domain
Set owner of web root directory:
sudo chown -R www-data:www-data /var/www/your.domainCreate new nginx config:
sudo nano /etc/nginx/sites-available/your.domainExample config:
server {

        listen 80;
        listen [::]:80;

        root /var/www/your.domain;

        server_name your.domain;

        # Add index.php to the list if you are using PHP
        index index.html index.htm index.php index.nginx-debian.html;

        location ~ \.php$ {
                include snippets/fastcgi-php.conf;

                # With php-fpm (or other unix sockets):
                fastcgi_pass unix:/var/run/php/php7.4-fpm.sock;
                # With php-cgi (or other tcp sockets):
                #fastcgi_pass 127.0.0.1:9000;
        }

        # deny access to .htaccess files, if Apache's document root
        # concurs with nginx's one
        #
        location ~ /\.ht {
                deny all;
        }

}
Put above content into nano and hit Ctrl-O then Y to save and exit. Then create symlink to enable config:
ln -s /etc/nginx/sites-available/your.domain /etc/nginx/sites-enabled/your.domainTest nginx config:
sudo nginx -tIf test is successful, reload nginx
sudo systemctl restart nginxCreate new wordpress config by copying sample config then edit it:
cd /var/www/your.domain
sudo cp wp-config-sample.php wp-config.php
sudo nano wp-config.php
Find the following lines and replace the texts with the database name, username and password you created in the previous step.
/** The name of the database for WordPress */
define('DB_NAME', 'database_name_here');

/** MySQL database username */
define('DB_USER', 'username_here');

/** MySQL database password */
define('DB_PASSWORD', 'password_here');
Now you should be able to start wordpress installation by going to your domain in a browser:
your.domainEnable SSL for server using certbot:
sudo apt-get install certbot python3-certbot-nginx
sudo certbot --nginx --agree-tos --redirect --hsts --staple-ocsp --email [email protected] -d your.domain
Add certbot renewal to crontab:
sudo nano /etc/crontabput in a new line:
00 3 1 * * root certbot renew
This means to execute certbot renew as root on 1st of every month at 3:00 in the morning.